You have 2 main options when it comes to starting archery. You can try to find an archery club or beginners course near you, or you can learn archery by yourself.
Learning by yourself and doing a beginners course both have their pros and cons, but if possible I do recommend getting some instruction in person to make sure you’re shooting safely. Depending on your country, there may be a search tool like the Archery GB Club Finder for archers in the UK.
Here are some tips to help you find a nearby archery club or range to start archery:
It might seem intimidating but it is definitely possible to learn archery by yourself, and my resources here are something I only wished I had. To start with, although you might not understand every detail it’s good to learn the basics of the recurve archery shot. The video below provides a great introduction to recurve Olympic archery for beginners.
https://www.youtube.com/watch?v=rDlLPWyKJwY
The video shows the 6 stages of the recurve archery shot, which we call the Shot Cycle. At the moment it’s only important to get an overview, but these stages are covered in more detail throughout my detailed Technique Guides: Stance and Posture, Set, Setup, Draw and Full Draw, Expansion, Release and Follow Through.
Finally, my Recurve Technique Basics page will help you understand how everything fits together more fluidly. And the video below shows some essential tips for beginners to help you learn faster. Now you’ve learnt the basics, let’s talk safety.
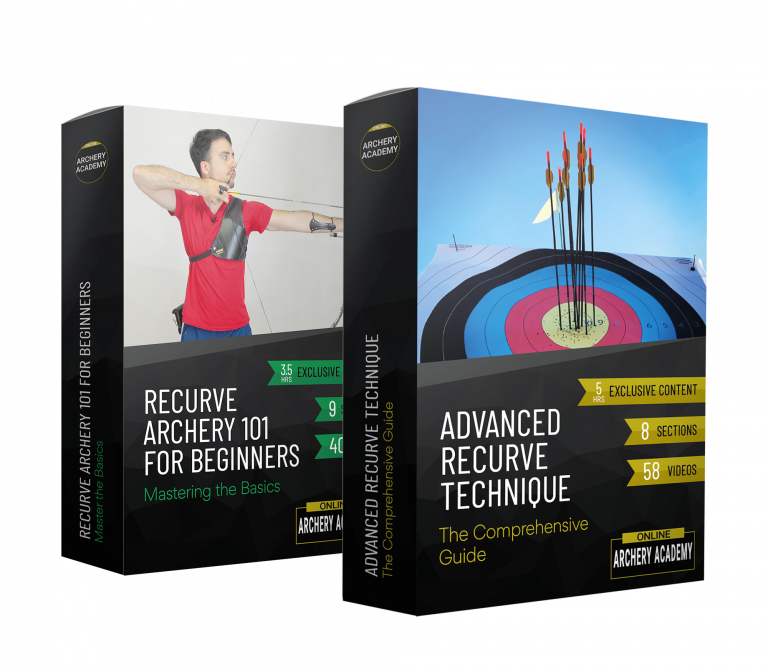
Save years of frustration and improve your technique and scores today. Without spending thousands on equipment or travelling hours for coaching. Plus OAA readers get 20% off.
Expert step-by-step guidance, lifetime access and a 100 day money-back guarantee, no questions asked.
There are some key things when it comes to archery safety. Most of them are common sense but I should highlight some below to get started.
If you’re planning to learn or shoot at home, there are some really important extra safety tips.
Finally, if you learn with the proper form and equipment from the start you’ll improve faster, enjoy archery more and be a much safer archer!
One of the biggest mistakes beginner archers make is to use a bow which is too heavy for them. Or not learn the basics of good form before increasing the bow weight or distance they shoot. I can’t stress how important it is to avoid this mistake!
To put this in perspective, let’s take a look at South Korea, by far the world leader when it comes to archery. New archers learn how to shoot with just a stretch band for 3-4 months before they can even touch a bow. Even then, archers normally only shoot up to 30m until they’re strong enough to move to longer distances.
Eye dominance is important for archery as it’s best to shoot with both eyes open. So you’ll need to know how to find your dominant eye before you start learning. Here’s a simple test:
If you’re right handed and right eye dominant, then you’ll need a right handed bow. This means you’ll hold the bow in your left hand and pull the string back with your right hand. If you’re left handed and left eye dominant you’ll need a left handed bow. This means you’ll hold the bow in your right hand and pull the string back with your left hand.
If you’re right handed but left eye dominant, or left handed but right eye dominant this is called being cross-dominant. I have two different recommendations here depending on your goals.
If you think you’ll want to shoot up to a competitive national level, then go with your eye dominance. For example if you’re right handed but left eye dominant, choose a left handed bow. If you’re left handed but right eye dominant choose a right handed bow.
However, if you seriously think you want to compete internationally, and possibly become an olympic archer, go with your hand dominance and close your dominant eye. This is because you’ll need the super fine motor control that you have on your dominant hand to be on the side that you pull the string with.
In truth, for beginners the size of the bow doesn’t matter too much as long as it’s roughly in the right area. The draw weight is much more important, which I’ll get to later.
Don’t try and guess your bow size from your height. This is not accurate. Eventually you’ll find the proper size of bow depending on your real draw length but for now it’s ok to choose your bow size from your wingspan. This is simply the distance between the end of your middle finger when you reach your arms out to the side.
Below is an approximate guide you can use to choose your bow length from your wingspan.
Less than you think. As I’ve said many times, shooting a draw weight which is too heavy is the single biggest mistake beginner archers make. And often it’s not their fault as they’re forced to shoot long distances that are too far for them.
If it was up to me, everyone would begin learning with stretch bands before they touch a bow. But I understand this isn’t very fun.
In reality, it’s almost impossible to recommend a bow weight without assessing your strength. Draw weight tables based on age, height or sex are misguided at best.
So what draw weight do I recommend for beginners? You want a bow that you can comfortably hold at full draw for more than 60 seconds. This might sound excessive, but this will mean you’re shooting a bow that you can actually control. You’ll thank me later. If you’re taking a beginners course at a club you can easily test this using different bow weights they have.
But what do you do if you want to learn archery by yourself? Simple, buy a set of varying strengths of stretch band (these will be essential later anyway) and a luggage scale. The total cost is just $30. Once you have the bands, find one or a combination of a couple that you can hold comfortably for 60 seconds or more. Then use your luggage scale to measure the weight when you’re at full draw. This is the draw weight you should start with.
You can see how to use a stretch band properly below.
https://www.youtube.com/watch?v=WHg-nDLz4og
You’ve got a great overview now, so it’s time to put everything together and start learning the basics. I’d recommend going through each of my detailed Technique Guides on this website using a stretch band. Or if you’ve got a bow you can go through by just doing draw ups. This is when you draw your bow without an arrow and practice technique, without releasing.
Focussing on 1 thing at a time and keeping a diary to see how you’re improving is really useful. You can find a training diary template and lots of other helpful tools on our Resources page.
Practicing your form in a mirror, or using a video delay app on your phone like BAM – Video Delay is a great way to learn faster and check your form. I recommend this app to every one of the archers I coach and they use a tripod attachment to hold their phone or tablet.
You can also find a complete library of archery exercises, and archery drills here. These exercises will massively help you improve as they break down your shot into manageable chunks.
Self coaching is essential to learn so you can progress on your own, but getting expert coaching can really take your archery to the next level. You can read about my online archery coaching here and apply if you’d like to work together. I coach archers all around the world from international team members to complete beginners, so don’t exclude yourself for being a beginner. I love coaching enthusiastic and proactive archers, regardless of level.
Another option is to ask around at your local club if someone can recommend a good coach. Just look out for a couple of key things. It’s important to look for a coach who has also shot at a high level so they understand the principles of proper technique. Too often coaches follow what they’ve read or learnt without adjusting it to an archer’s individual needs. A good coach will take their time to get to know you, and work collaboratively with you. Lastly, you should definitely avoid any coach who takes the ‘my way or the highway’ approach.